 In 1995-1996 I ran a Macintosh GUI BBS on a computer I rescued from the trash. The Macintosh SE/30 was prized for its ability as a server, and at one point mine had four external SCSI drives attached to it, two Hayes Accura V.92 14.4K Modems, and the 40MB built-in drive running System 7. With the RAM maxed out to 8MB and an external monitor card, this build was a top notch machine of its day. If you’re going to restore an old 16bit PC, why not make it the last of the V8 interceptors.
Before I get too far, let me declare that this is not a “how to”. There are far more traveled forums than the comment section of planetkris, and there are many hundreds of articles, and thousands of different things to try to get your retro hardware working. Only one of which will be covered here.

In a box, in a bin, in the last three houses my parents have owned, and saved from a flood, was a couple of my old Macintosh Computers. I think I have mentioned that I would pay to ship these out to me over a dozen times in last 10 years. I have a significant pile of keyboards, mice, cables, and adapters that go along with them. In October of 2018 they arrived in the back of the car that my parents took on their post-retirement cross country trip.
Yes, of course “leaking capacitors.” 15 years of electrolytic goop has been corroding the motherboard. I powered it on anyway just to see what I had gotten myself into, and it actually booted off a floppy that I made on my Windows 10 desktop. The fact that I was able to do THAT MUCH was particularly amazing considering the hardware/software emulation chain that was taking place: Windows 10 driver to access emulated floppy over USB writing bits from a 1990’s .img file using a 32bit Macintosh floppy conversion software on a 64bit multi-core machine. I wasn’t remotely running this on a VM desktop at the time – FYI.
Restoration VS. Nostalgia: I did NOT want this build to turn into a Raspberry Pi attached to a 7″ LCD monitor grafted into the case. I get why people do that, but it’s not at all true to the design of the machine, and it really cheapens the feeling one gets when they see an old computer they used in High School or College with the side hacked open and USB hubs sticking out. I looked into driving the original monitor with a Pi, and it has been done, but emulating hardware in Linux is not something I have any experience with. I decided that I would at least replace the spinny disk with an SD card (SCSI2SD). This alone would make the computer 10 times faster, and I could run real software on a real Macintosh from 1989.
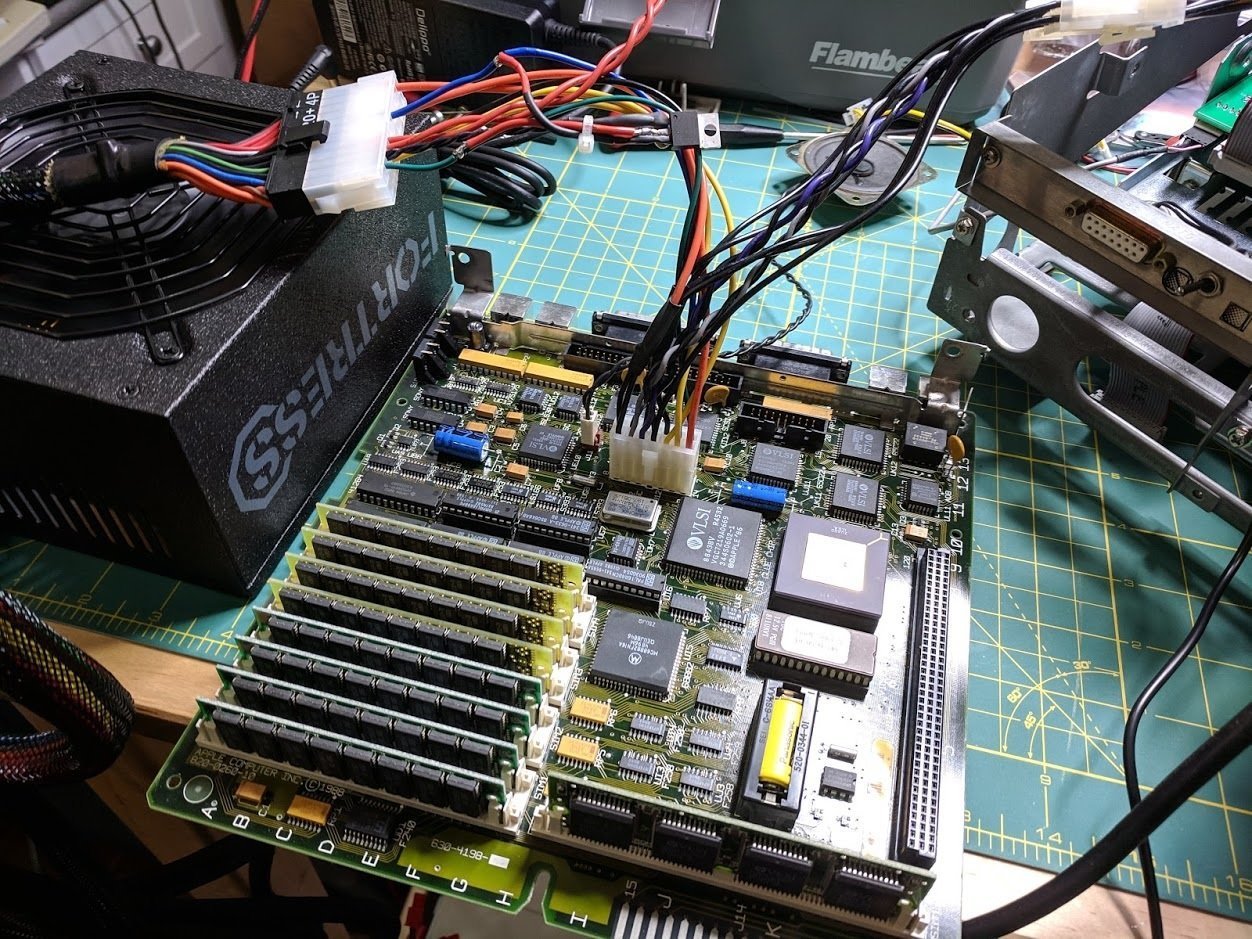 I also experimented with powering the motherboard separate from the monitor. This would allow me to turn the original high voltage power supply off and “save it” should I want to fool around with keeping this machine on the internet or running a terminal, etc. That brushless fan – while still working great – is louder than my dishwasher.
I’m going to keep a Raspberry Pi OUT of the case. My plan is to connect to the Mac over 56K BPS serial with a modem cable connected to an external Pi. Use actual Macintosh terminal / BBS software to do fun and interesting internet stuff. The Pi will negotiate all the Ethernet and TCP/IP Internet heavy lifting. They DO make an Ethernet board for this machine, but I really (really, really) want to keep my external monitor board in there.

RestOBrite: Removing the nasty orange color is pretty easy with SoCal sun and some Hydrogen Peroxide. I tested my method on my older SE first, and then did a carefully controlled amount of whitening to the SE/30. I think I found the balance between “this is still a 20 year old computer” and “bleach all the old things”. There are 1000 formulas for this on the net. I used Oxyclean and “off-the-shelf brown bottle from CVS” hydrogen peroxide.
Once the replacement capacitors arrived, I had to clean the motherboard in the garage sink with soap and water. It’s a little surreal dunking a motherboard into soapy water, but yes, this is the method. A mac bomb error code had cropped up after this and I went back and cleaned again. Now the caps were never going to be a problem, but the damage they caused to the SCSI chip was worse than I thought.
Not Booting: So, what’s wrong with your computer that won’t see a SCSI emulator SD card loaded with an image from some website? How about that 50 pin cable that’s older than your first car. Is the bus terminated correctly? Did that .img file copy okay with the USB loader? Did you assign the right address? I want to give a shout out to “David and Steve’s Blog” who really detailed the process of setting up SCSI2SD.
eBay spares: There are people in other countries that make their living removing old chips off old boards to keep in old boxes. I was able to procure an old NCR SCSI controller chip. I also decided that it would be best for my soldering skills that I socket this chip. The pads on at least 3 of the leads were damaged or missing once I de-soldered, and testing goes a hell of a lot easier if you can remove the chip to fix the traces under it. *thumbnail for scale

Trace twice, solder three times, trace again. This controller has 44 pins. I found that 3 of them were causing problems. Luckily only this chip was damaged. One trace I found before I de-soldered, the second and third one were right next to each other, but used connections that travel under the chip. I broke a fourth trace trying to fix the third, but I knew I was making progress when my SCSI HDD light came on and stayed on. My blind configuration of SCSI2SD worked and I was overjoyed when it FINALLY JUST BOOTED!

The one thing that I love about this machine, is that it does something that we only started taking for granted maybe 5-6 years ago. It drives two monitors, and extends the desktop, IN COLOR. Moving your mouse off of the built in screen with a window of icons over to a second monitor is still delightful. The fact that it was able to do this in 1989 is spectacular. This is not emulation, this is a 1989 video card directly driving an LCD monitor from the 21st century.

- 68kMLA
- Macintosh SE/30 Capacitor List
- SCSI2SD Setup
- SCSI2SD Board
- MyOldMac.Net
- Macintosh Repository
- Driving a Mac CRT with a Raspberry Pi
- Retrobrite recipes are complete BS
- Macintosh SE/30 Schematics
I enjoyed the process and encourage my fellow hardware hackers to enjoy restoring some old computer that you thought would never work again. Test your maker, hardware, software, and troubleshooting skills!
 Secure Erase:
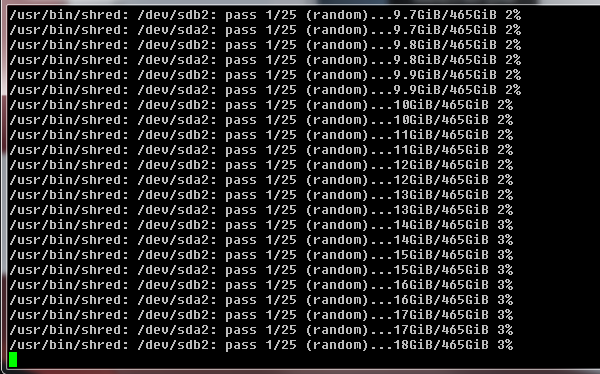